


That means I fold at (very roughly) 1:30, 1:50, 2:15, and 3:00. After the 4th fold cycle, just leave it alone for a few hours. The warmer the place you leave it after this folding process, the more and faster it will grow.


27 Apr 2022
Here’s a quick illustrated walk through how I make Pain de Campagne (country bread) in the manner of Ken Forkish from his great book Flour Water Salt Yeast. I do it mostly as directed by the recipe, with a little more wheat flour than he uses, as you’ll see. You can find the pics alone in this Google Photos album.
All measurements here are in grams.
| 1. 7:40am Wednesday. We start with the starter, so I took mine out of the fridge yesterday AM and fed it. It grew and collapsed overnight, leaving this active, gassy new levain. I'll use 100g of it in the recipe, so I put about 100g each water and flour back into the jar, stir it up, and put it back in the fridge. That's probably feeding a bit too much but I'm going away for a week. | |
||
| 2. Following the (slightly modified by me) PdC directions: Combine 100g starter (which I guess is really now levain), 300 white flour, 100 wheat, 400 warm water. Mix it up with a fork and leave it covered until around 1pm. | |
||
| 3. Around 12:30pm: Autolyse 650 white, 150 wheat, and 625 pretty hot water. Autolyse just means mix flour and water before leavening. | |
||
| 4. Mix until one shaggy ball, more or less. | |
||
| 5. And cover for ~30 mins | |
||
| 6. Just a pic of what we are using, all together: Risen levain/starter on the left, autolysed flours on the right, salt and active dry yeast in the middle. I have left out the yeast before but find the predictability and faster rise is worth the very slightly less sour flavor. | |
||
| 7. Around 1pm: Mix the autolysed flours, 380g of the levain, 21g salt and 2g yeast together by hand. FWSY has good instructions for doing this, I think he calls it cutting and folding. | |
||
| 8. Wet your hand with warm water, shake it off, then just pull the outside up, fold it over the salt/yeast/levain, over and over from the outside, and pinching it however you want, spinning the container around. The whole process takes ~5 minutes. | |
||
| 9. Stretch it a bit, too. | |
||
| 10. It will looks like this when you're done mixing/combining everything. Cover it and let it sit for 20 mins or so. | |
||
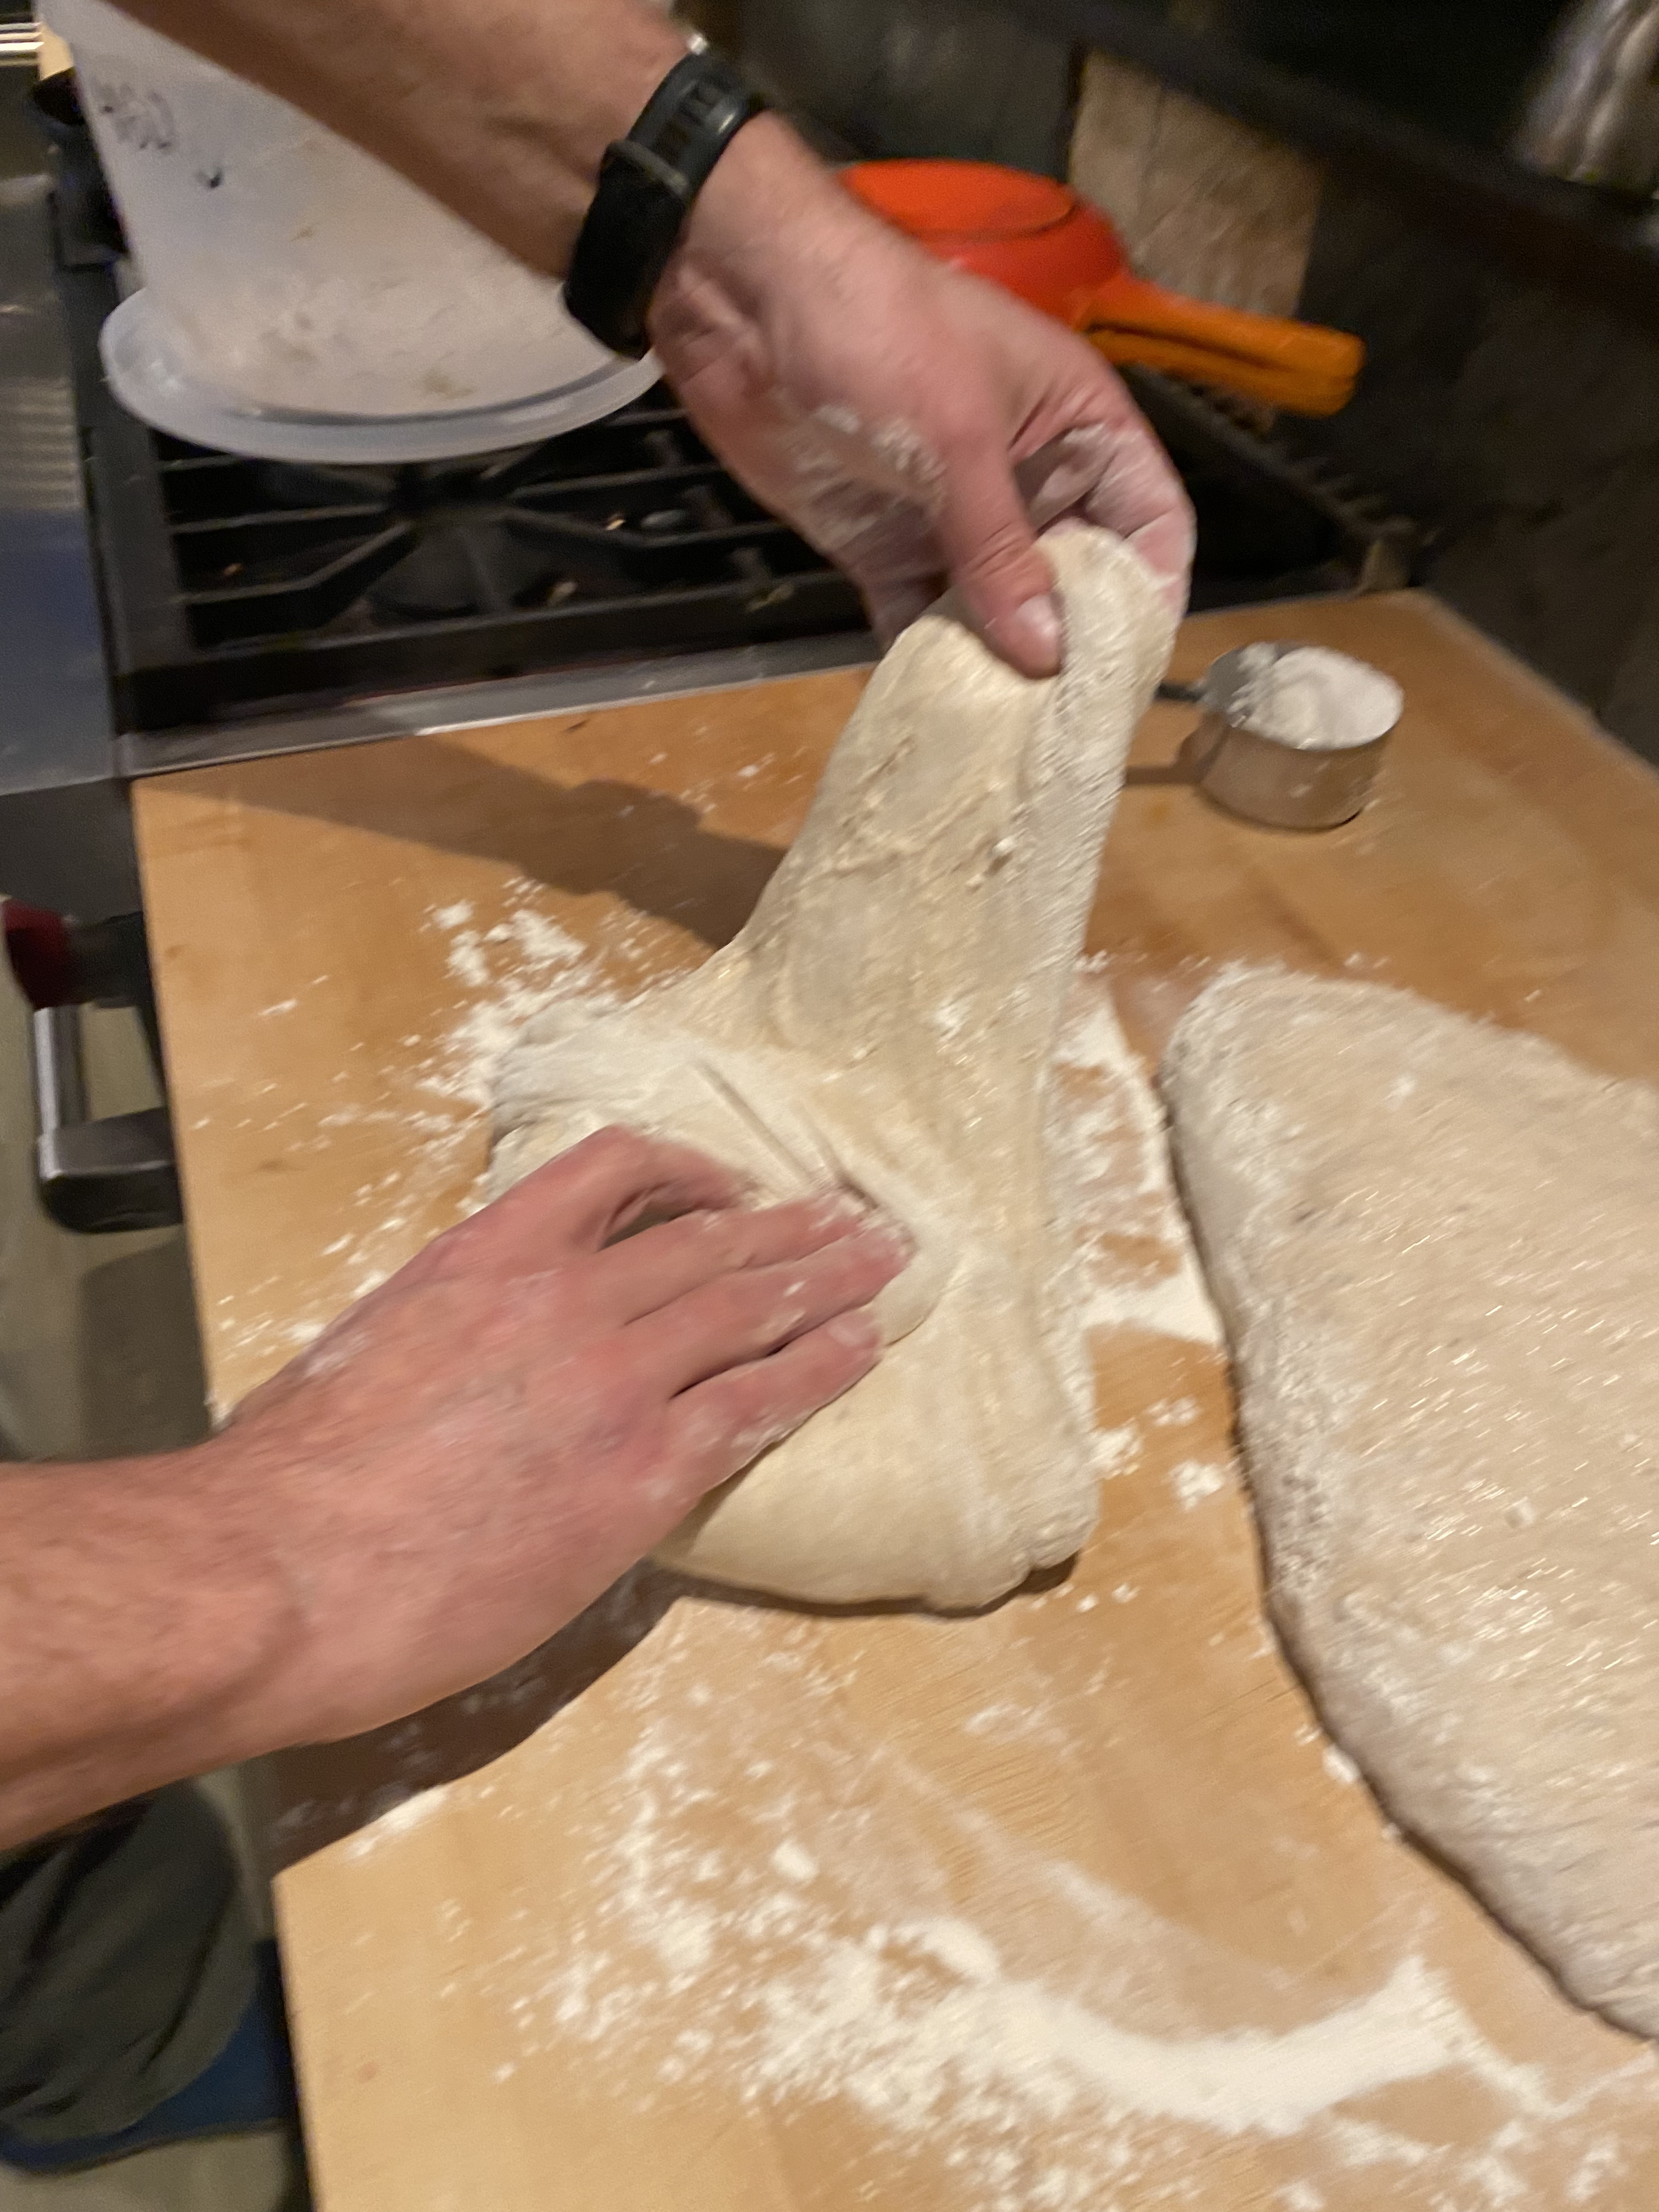
| 11. Then do a fold. Reach under, take a big handful, and stretch it over the top to the side closest to you. Spin the container a bit and do it again, 4 or 5 times. | |
||
| 12. I usually use two hands but couldn't here because I was taking the picture. The idea is to fold it almost like a bedsheet. Don't break/tear the sheet if you can avoid it. | |
||
| 13. You can see it tightens up as you fold it, and after a while you have a bit of a ball. I completed this first fold cycle by about 1:30. | |
||
| 14. After just sitting for a while, the ball smooshes flat again. I do this folding cycle four times. Each time it folds up tighter and smooshes less. Each cycle also take longer than the last - the first smoosh only takes 20 mins, but the 4th takes more like 40. That means I fold at (very roughly) 1:30, 1:50, 2:15, and 3:00. After the 4th fold cycle, just leave it alone for a few hours. The warmer the place you leave it after this folding process, the more and faster it will grow. |
|
||
| 15. Amazingly enough, when you return around 7pm, the ball won't have flattened/smooshed down, but rather grown to (in my case almost) fill the container. | |
||
| 16. Now you must get the risen dough out of the container. This isn't easy, and it will deflate somewhat, but that's okay. Just throw a bit of flour around the perimeter to help it release, and cajole the whole thing on to your floured countertop. It will be a blob. Don't sweat it. | |
|
|
| 17. Divide it in two with a scraper or knife. It helps to put a line of flour down where you're going to divide. | |
||
| 18. Then stretch/fold each half into a ball of sorts, and flip the balls upside down, pushing/tightening the outside underneath the middle. | |
|
|
| 19. And put them into floured baskets or greased bowls or linen couches or however you're doing it. Smooth side up here, that way the seams will be on top when you invert the basket/mold into the Dutch oven | |
|
|
| 20. Then each goes in its own plastic bag and into the fridge. Sleep tight! Don't worry, they'll rise. | |
||
| 21. On the next (Thursday) morning around 7:30am, take out the loaves and preheat the oven (with two dutch ovens inside) to 450°F. Around 8:15, get the two loaves into the dutch ovens. These didn't rise as much as I would have liked, but I was in a rush so just went with it. In a perfect world I would have given them another 30 mins. FWSY has a great "poke test" for knowing when to bake. | |
|
|
| 22.This step is rather equipment-dependent, but I tilt the dutch oven and basket towards each other, wrangle the basket inside (upside-down, of course) and pull the basket out. With luck, the risen loaf just releases easily. If not, you may have to mess with it. As Ken says about 50 million times, be careful not to burn yourself. | |
|
|
| 22. Get the covers on, and everything goes in the oven for 30 mins. | |
|
|
| 23. Then take the covers off, and bake for another 15 mins. | |
||
| 24. Pull 'em out and you're done! | |
|
|
| 44. Oh yeah, in case you were wondering what you should do with all the levain left over after step 7, I throw a little extra flour (~1 cup) and some salt (1/2 tsp) in with it and mix it up, then shape it into a nasty little loaf to bake. Sometimes it comes out great, sometimes (like this time) kinda meh. Always tastes good though! Another great option is pancake batter. | |